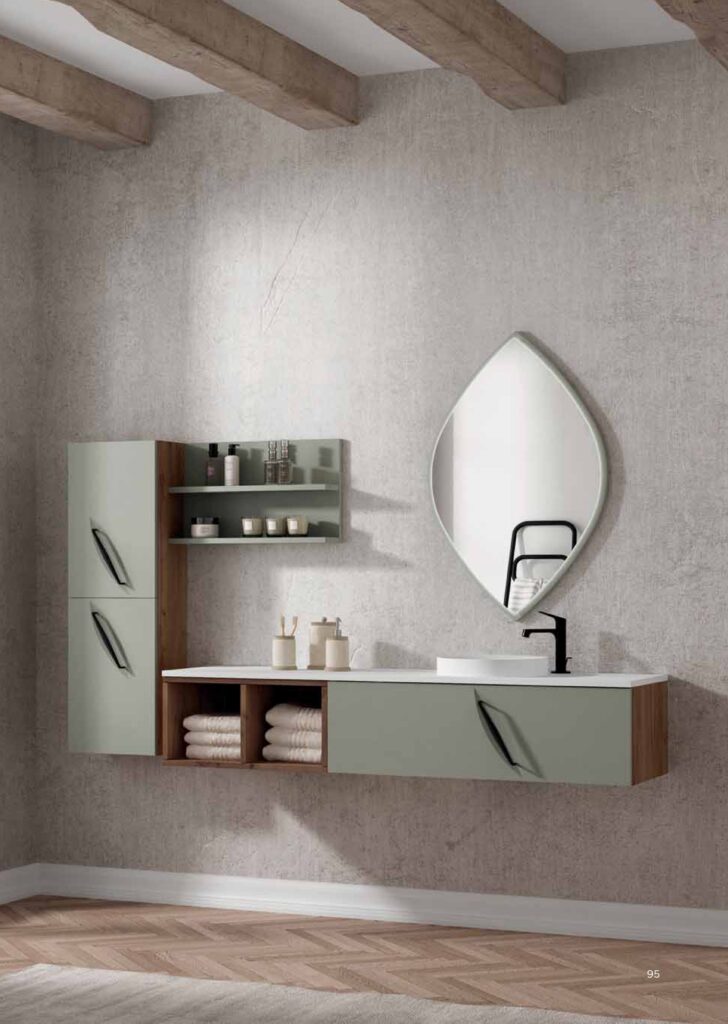
Installing a new bathroom vanity is a great way to update your space without breaking the bank. If you’re up for the challenge, you can install it yourself. Here’s a step-by-step guide to help you do it right.

Step 1: Measure Your Space
Before purchasing a new vanity, carefully measure the space where it will go. Ensure that you account for:
- Width and Depth: Make sure the vanity fits comfortably in your bathroom. Leave room for door swings, if necessary.
- Plumbing Locations: Identify the location of water supply lines and drain pipes.
Step 2: Remove the Old Vanity
If you’re replacing an existing vanity, start by turning off the water supply. Disconnect the plumbing under the sink and remove any screws holding the vanity to the wall. You can use a utility knife to cut through caulking around the vanity.
Step 3: Install the New Vanity
- Position the Vanity: Set the vanity in place and ensure it’s level both horizontally and vertically. Use a level to check alignment.
- Secure It to the Wall: If your vanity is wall-mounted, use the appropriate anchors and screws to secure it. For freestanding vanities, ensure the base is solid on the floor.
Step 4: Connect the Plumbing
Reconnect the plumbing by connecting the water supply lines and drain pipes to the vanity. If your new vanity has a built-in sink, make sure all seals are tight to prevent leaks.
Step 5: Attach the Countertop and Accessories
Finally, position your countertop on top of the vanity. Ensure it’s aligned and secure. Install the faucet and other accessories, such as handles, mirrors, or lighting, to complete your new vanity setup.
With the right tools and a little patience, installing a bathroom vanity is a manageable DIY project that can save you money.


